js实现登录拖拽窗口
本文讲解"js实现登录拖拽窗口",用于解决相关问题。
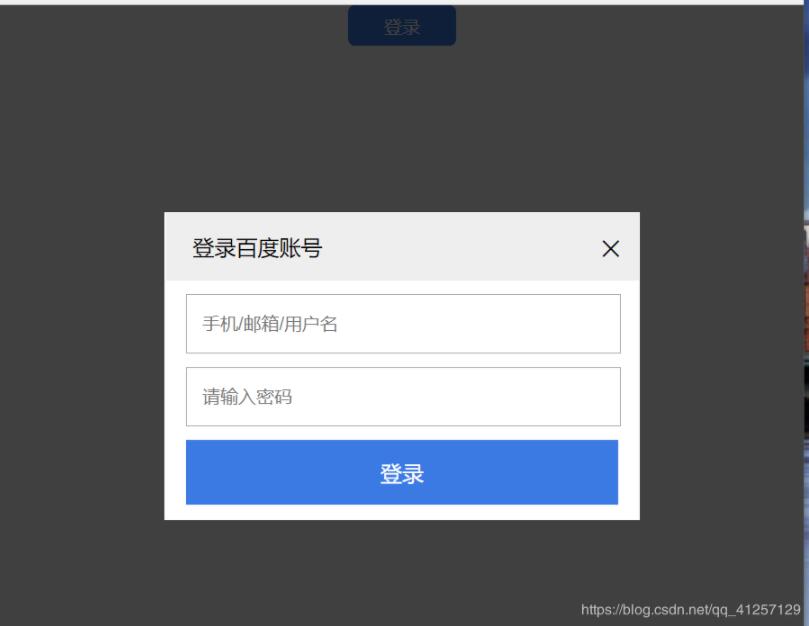
本文实例为大家分享了js实现登录拖拽窗口的具体代码,供大家参考,具体内容如下
做这个案例的两个关键点:
1、用js将盒子在可视区域居中显示
本可以用css将盒子用定位的方式居中显示,但是采用js的方法更好些。
方法:
盒子的left值 = (可视区域的宽度 - 盒子自身的宽度)/ 2;
盒子的top值 = (可视区域的高度 - 盒子自身的高度)/ 2;
这样盒子就居中显示
2、先鼠标按下,然后鼠标在整个文档上移动时,盒子的位置跟着鼠标移动
这一点上要注意的点:
1)鼠标按下时,鼠标相对盒子X方向的位置 = event.clienX- 盒子的offsetLeft
鼠标相对盒子Y方向的位置 = event.clientY - 盒子的offsetTop ;
2)鼠标在移动时,盒子的left值 = event.clientX - 鼠标相对盒子X方向的位置
盒子的top值 = event.clientY - 鼠标相对盒子Y方向的位置
注意 1),2)中的event.clientX/clientY不是一样的值,他们分别来自不同事件
<!DOCTYPE html>
<html lang="en">
<head><meta charset="UTF-8"><meta name="viewport" content="width=device-width, initial-scale=1.0"><meta http-equiv="X-UA-Compatible" content="ie=edge"><title>Document</title><style>  *{    padding: 0;    margin: 0;  }  button {    width: 80px;    height: 30px;    display: block;    margin: 0 auto;    background-color:#3b7ae3;    border-style: none;    border-radius: 5px;    color: #ffffff;    cursor: pointer;  }  .mask {    position: absolute;    top:0;    width: 100%;    height: 1000px;    background-color:black;    opacity: 0.75;    z-index: 99;  }  .login {    width: 350px;    height: auto;    border: 1px solid #fff;    position: absolute;    top:0;    left: 0;    z-index: 1000;  }  .title {    width:330px;    height: 50px;    padding-left: 20px;    line-height: 50px;    background-color: #eee;    position: relative;    cursor: move;  }  span {    position: absolute;    right:10px;    font-size: 30px;    font-weight: 300;    cursor: pointer;  }  .current {    padding: 10px 15px;    background-color: #fff;  }  .user,  .password{    margin-bottom: 10px;  }  .pt {    width:308px;    height: 40px;    padding-left: 10px;  }  .submit {    width: 320px;    height: 48px;    background-color:#3b7ae3;    color: #fff;    font-size: 16px;    border-style: none;    cursor: pointer;  }</style><script>  window.onload = function(){    // 获取元素    function $(id) {return document.getElementById(id);}    // 获得可视区域的大小    var clientwidth = document.documentElement.clientWidth || document.body.clientWidth;    var clientHeight = document.documentElement.clientHeight || document.body.clientHeight;    // 点击登录按钮    $("btn").onclick = function(){      // 创建mask      var mask = document.createElement("div");      mask.className = "mask";      // mask的高度等于可视化区域的高度      mask.style.height = clientHeight + "px";      document.body.appendChild(mask);      // 创建login      var login = document.createElement("div");      login.className = "login";      login.id = "_login";      login.innerHTML = '<div class="title" id="_title"> 登录百度账号 '+' <span id="close">×</span>'+' </div>'+' <div class="current">'+      '<div class="user">'+' <input type="text" class="pt" placeholder="手机/邮箱/用户名">'+      '</div>'+'<div class="password">'+'<input type="text" class="pt" placeholder="请输入密码">'+      '</div>'+'<div>'+' <input type="button" class="submit" value="登录">'+'</div>';      document.body.appendChild(login);     // 设置login的位置垂直居中       login.style.left= (clientwidth - login.offsetWidth)/2 + "px";      login.style.top = (clientHeight - login.offsetHeight)/2 + "px";            // 当窗口改变大小时,login仍然垂直居中显示      window.onresize = function(){        if(window.innerWidth != null) // ie9+及新的浏览器        {          clientwidth = window.innerWidth;          clientHeight = window.innerHeight;        }        else if(document.compatMode == "CSS1Compat")// 标准模式        {          clientwidth = document.documentElement.clientX;          clientHeight = document.documentElement.clientY;        }        else         {          clientwidth = document.body.clientX;          clientHeight = document.body.clientY;        }      login.style.left= (clientwidth - login.offsetWidth)/2 + "px";      login.style.top = (clientHeight - login.offsetHeight)/2 + "px";      mask.style.height = clientHeight + "px";      }      // 鼠标按下title实现拖拽      $("_title").onmousedown = function(event){        var event = event || window.event;        // 鼠标相对盒子的位置        var moveX = event.clientX - login.offsetLeft;        var moveY = event.clientY - login.offsetTop;        document.onmousemove = function(event){        var event = event || window.event;        // 鼠标移动时的位置        var clientX1 = event.clientX;        var clientY1 = event.clientY;        // 盒子的偏移量 = 当前鼠标的位置 - 鼠标按下时相对盒子的位置        var loginX = clientX1 - moveX;        var loginY = clientY1 - moveY;        // 判断login的位置是否超过可视区域        if(loginX <= 0)        {          loginX = 0;        }        else if(loginX >= clientwidth - $("_login").offsetWidth)        {          loginX = clientwidth - $("_login").offsetWidth;        }        if(loginY <= 0)        {          loginY = 0;        }        else if(loginY >= clientHeight - $("_login").offsetHeight)        {          loginY = clientHeight - $("_login").offsetHeight;        }        $("_login").style.left = loginX + "px";        $("_login").style.top = loginY + "px";      }      document.onmouseup = function(){        document.onmousemove = null;    }    // 点击叉号关闭    $("close").onclick = function(){      document.body.removeChild(mask);      document.body.removeChild(login);    }  }  }  }</script>
</head>
<body><button id="btn">登录</button><!-- <div class="mask" id="_mask"></div><div class="login" id="_login">  <div class="title" id="_title">    登录百度账号    <span id="close">×</span>  </div>  <div class="current">    <div class="user">      <input type="text" class="pt" placeholder="手机/邮箱/用户名">    </div>    <div class="password">      <input type="text" class="pt" placeholder="请输入密码">    </div>      <div >      <input type="button" class="submit" value="登录">    </div>      </div> -->  </div>
</body>
</html>
以上就是本文的全部内容,希望对大家的学习有所帮助,也希望大家多多支持亿速云。
关于 "js实现登录拖拽窗口" 就介绍到此。希望多多支持编程宝库。
本文讲解"node.js中 redis 的安装和基本操作示例",用于解决相关问题。本文实例讲述了node.js中 redis 的安装和基本操作。分享给大家供大家参考,具体如下:一、win下 ...